DIY IoT Projects: From Concept to Functional Prototype
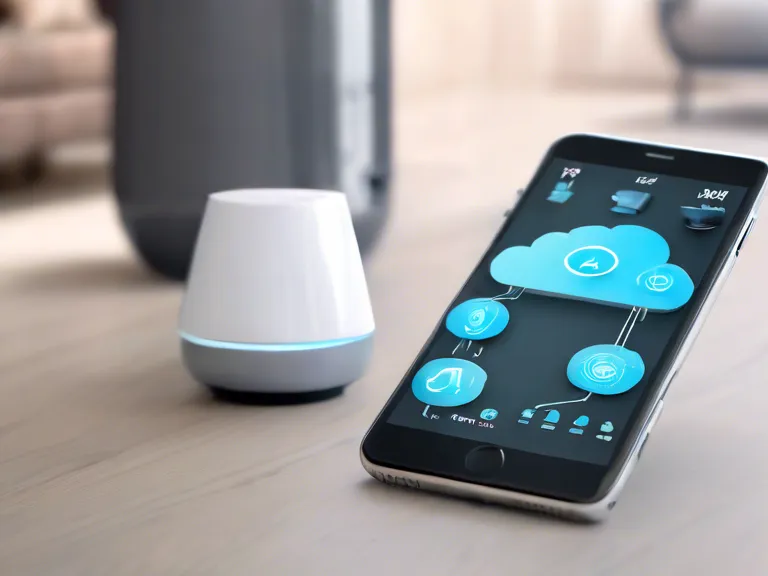
In today's digital age, the Internet of Things (IoT) has become increasingly popular as a way to connect everyday devices to the internet and enable them to communicate with each other. DIY IoT projects allow individuals to create their own unique smart devices and bring their creative ideas to life. From simple temperature sensors to complex home automation systems, the possibilities are endless when it comes to DIY IoT projects.
Planning Your Project
The first step in creating a DIY IoT project is to come up with a solid concept. Think about what problem you want to solve or what functionality you want to add to an existing device. Once you have a clear idea of what you want to create, you can start planning out the components you will need and how they will work together.
Building Your Prototype
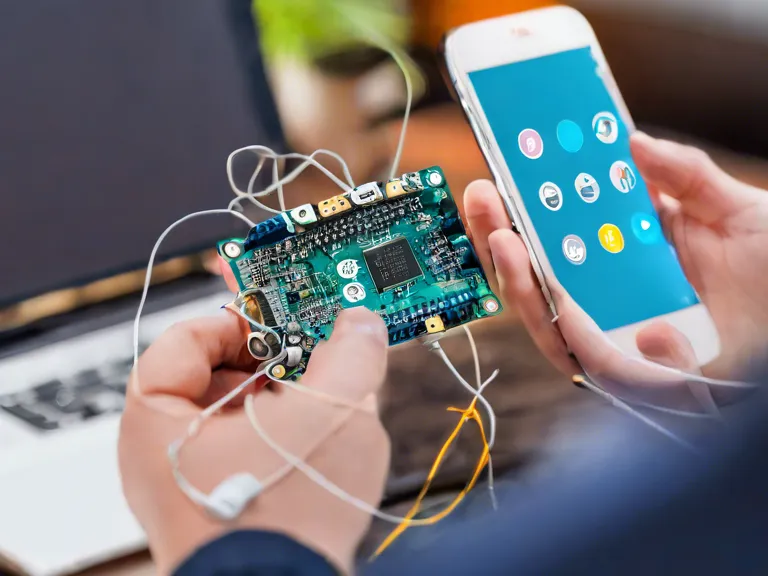
After you have a plan in place, it's time to start building your prototype. Depending on the complexity of your project, you may need to use different hardware components such as sensors, microcontrollers, and actuators. Don't be afraid to experiment and iterate on your design to get it just right.
Testing and Debugging
Once your prototype is built, it's important to thoroughly test and debug it to ensure it functions as intended. Use testing tools and software to check for any bugs or errors in your code. Make any necessary adjustments to optimize your device's performance.
Finalizing Your Project
After you have tested and debugged your prototype, it's time to finalize your project. This may involve designing a custom enclosure for your device, adding a user-friendly interface, or creating a mobile app to control your IoT device remotely. Once everything is in place, you can proudly showcase your DIY IoT project to the world.